In this part, I am going to show you how to create a report from every LAPS request in a certain period of time and send that report by e-mail.
Go to Microsoft Power Automate | Home –> My Flows –> New flow –> Scheduled cloud flow.
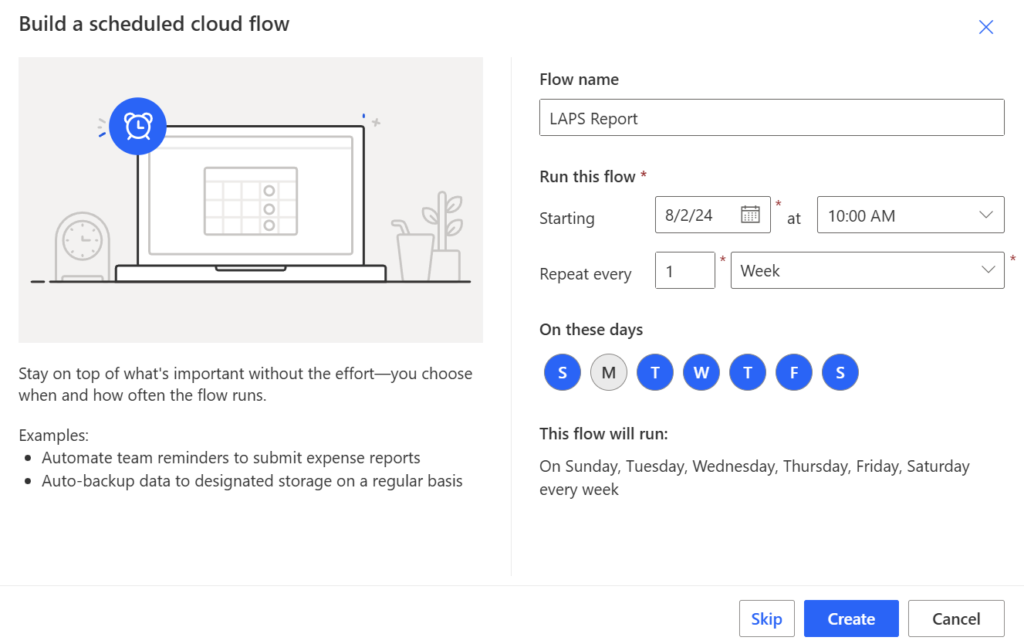
Give your flow a name. I will name it “LAPS Report”. Select when it starts, how many times it repeats and at which day it starts. In my case, I will go with once a week on Monday. Press “Create”.
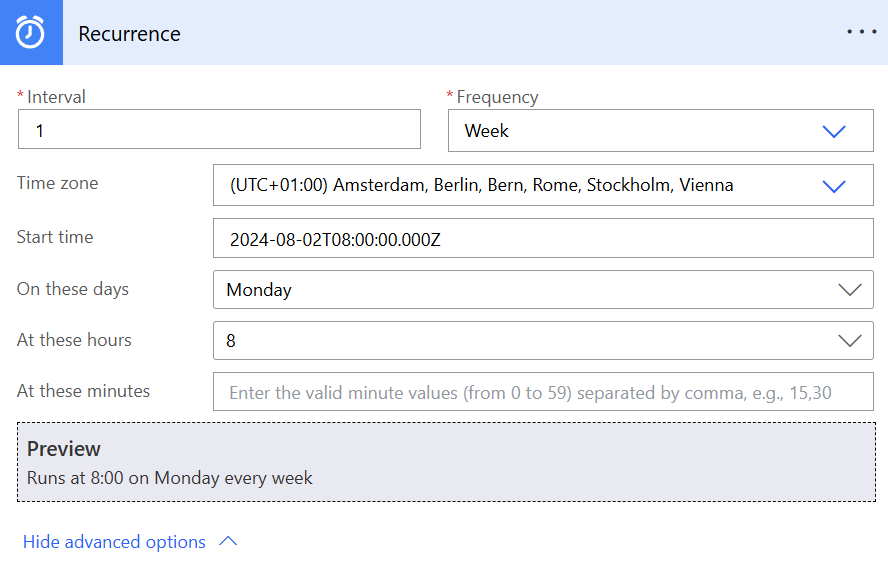
Your recurrence step should like this. My flow will run every week at 8 AM on Monday.
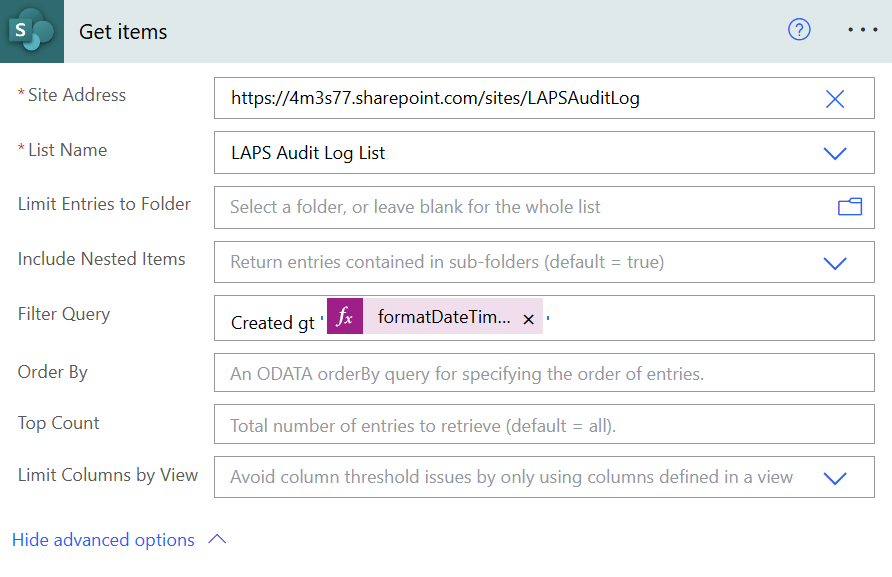
Add a new step “Get items” from SharePoint Online and select “Show advanced options”.
Add the following expression:
- Created gt ‘@{formatDateTime(addDays(utcNow(),-7),’yyyy-MM-dd’)}’
Your “Get items” step should look like this.
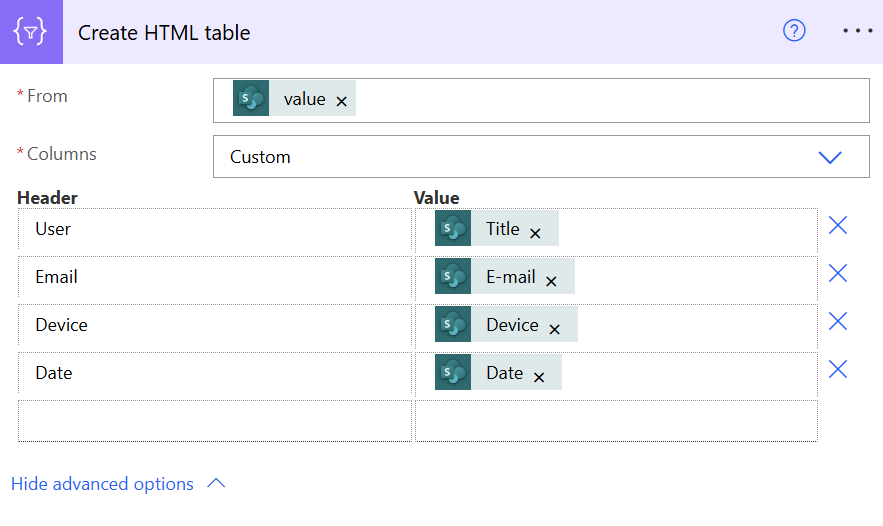
Add a new step “Create HTML table”.
In the “From”, I select the “value” from “Get items” in the dynamic content tab.
After that, I select “Custom” from “Columns”.
Also, I have to add the headers:
- User: Title (from Get Items)
- Email: E-mail (from Get Items)
- Device: Device (from Get Items)
- Date: Date (from Get Items)
Your second step should look like this.
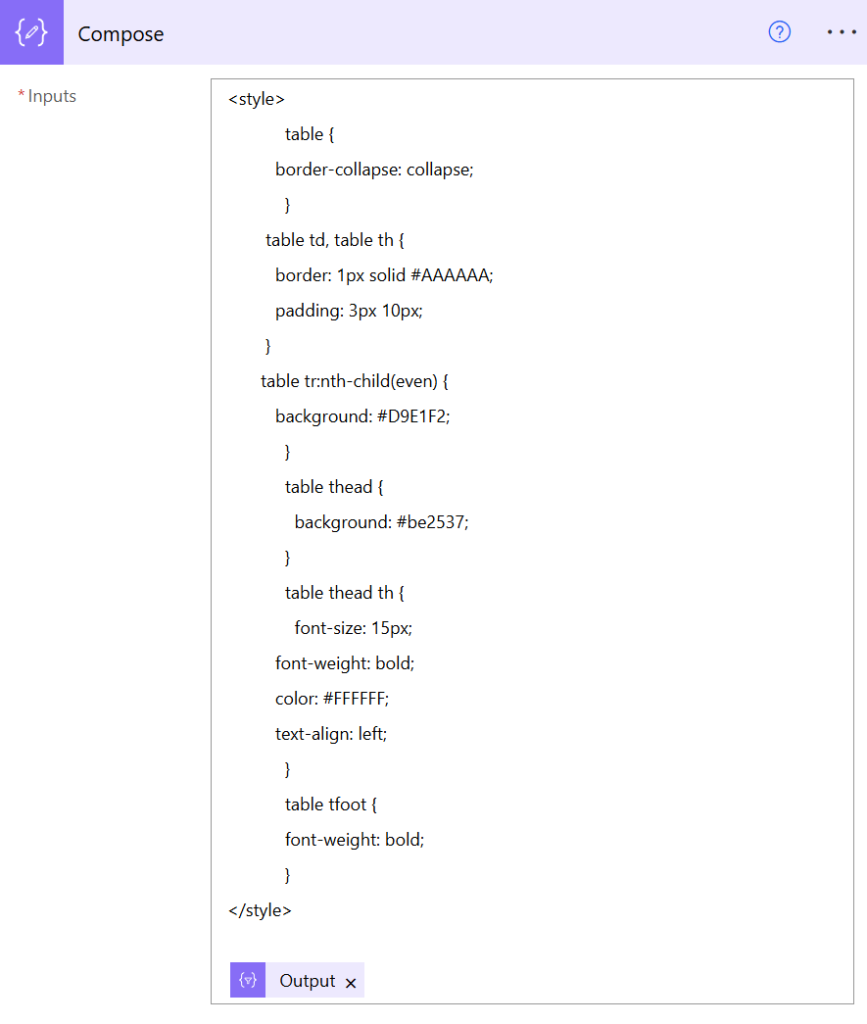
Add a new step “Compose”.
Copy and paste the below code in the “Inputs”.
<style>
            table {
          border-collapse: collapse;
            }
        table td, table th {
          border: 1px solid #AAAAAA;
          padding: 3px 10px;
        }
       table tr:nth-child(even) {
          background: #D9E1F2;
            }
            table thead {
              background: #be2537;
            }
            table thead th {
              font-size: 15px;
          font-weight: bold;
          color: #FFFFFF;
          text-align: left;
            }
            table tfoot {
            font-weight: bold;
            }
</style>
@{body('Create_HTML_table')}
Your third step looks like this.
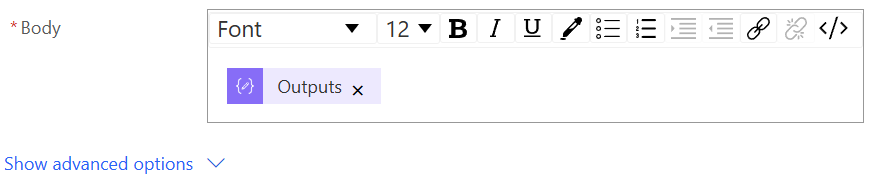
Add the last step “Send an email (V2)”.
Add a sender and a subject.
Select “Outputs” from Compose and add that into the body of the e-mail.
Let’s run the flow and see if the e-mail arrives into my inbox.
And there we are… Successfully received an e-mail with whom requested a LAPS password for a device at which date.
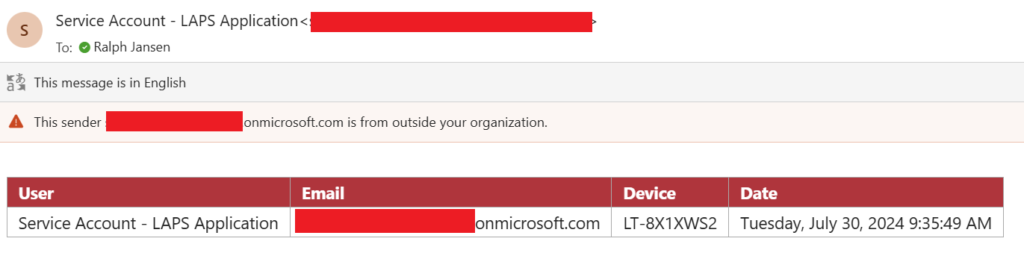
The Power Automate workflow ran successfully.

The workflow will run every week on Monday at 8 AM CET.
That’s it! 🙂