Welcome back again at part 3 of my Windows LAPS series!
Today, I am going to show you how you can create an audit log in SharePoint Online for every engineer who’s requesting a Windows LAPS password through the Power App. I will also show you how to sent a scheduled e-mail with an overview of all Windows LAPS passwords that have been requested through a certain period of time.
Go to the SharePoint – Microsoft 365 admin center –> SharePoint –> Active Sites –> Create –> Communication site. You can select the template “Standard communication”.
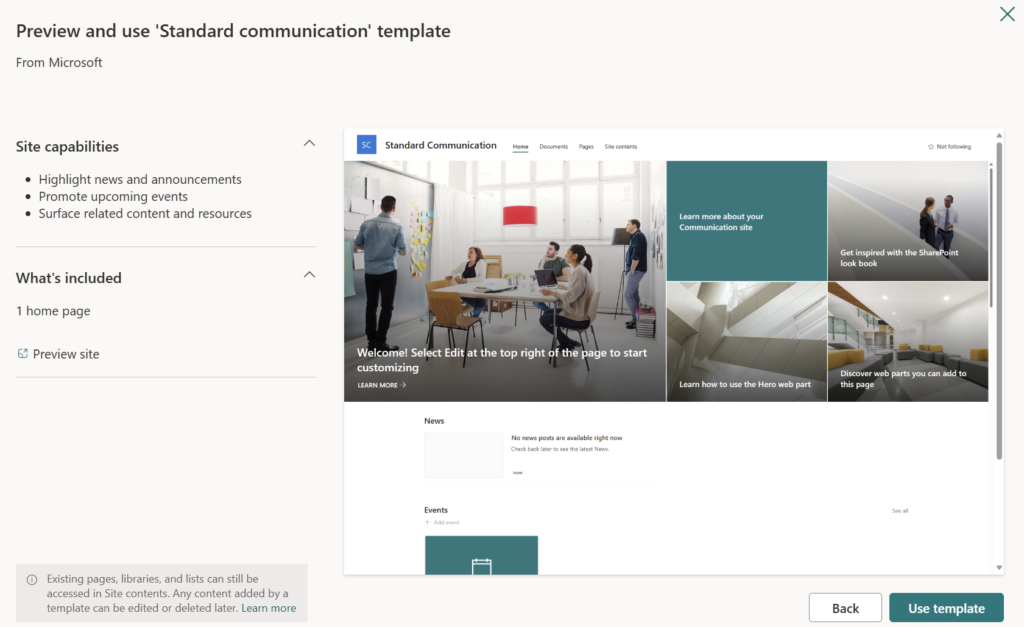
Press “Use template”.
Fill in the details that are required to create a new site. Also, you have to specify an owner. I would recommend to use the service account, we have created in the previous part.
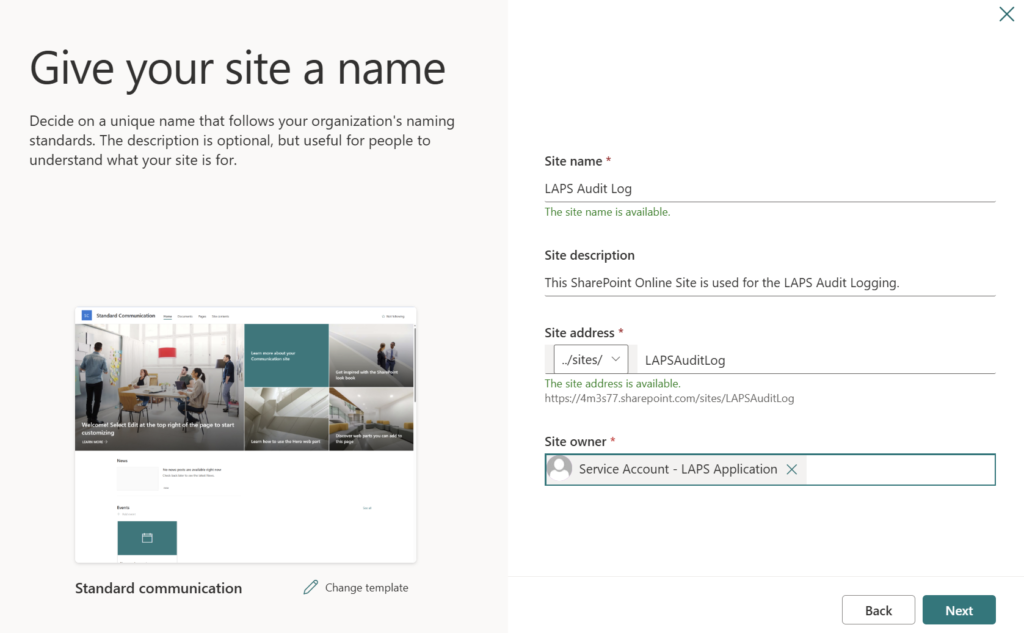
Press “Next”.
Select the language and timezone and press “Create site”. The site is now created and ready for use.
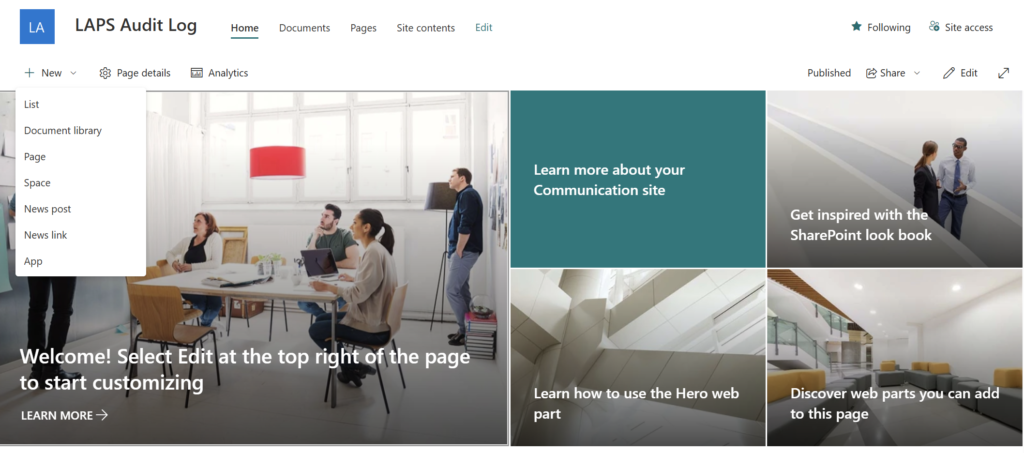
Go to the newly created SharePoint Online site and press “New” –> “List”. Select “Blank list”.
Give your list a name and description.
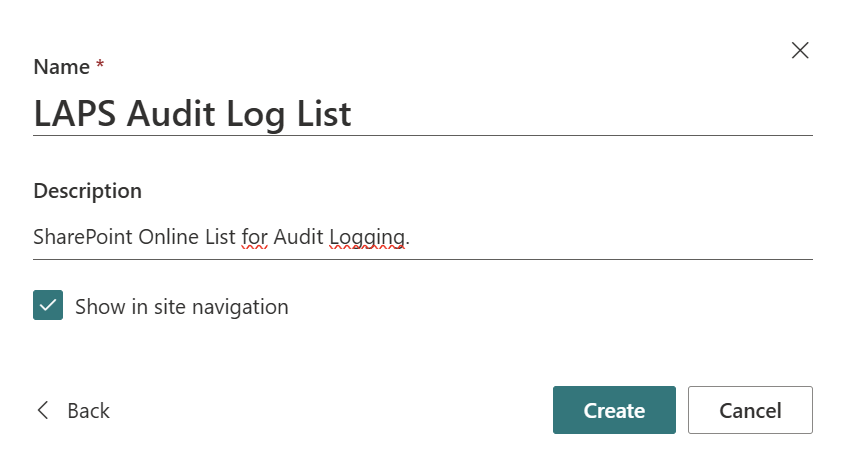
Press “Create”. Your list is now created and ready for use.
Press the arrow next to “Title” –> “Column settings” –> “Rename”. Rename it to “User”.

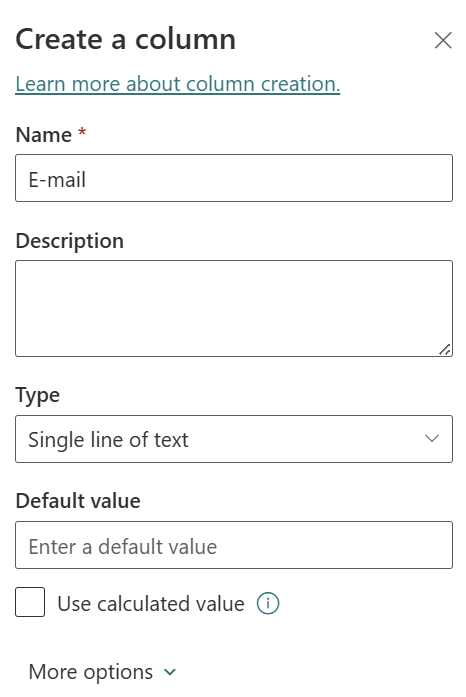
Press “Add column” –> “Text”. The column name is “E-mail”. Press “Save”.
Repeat the same steps for a column named “Device” and “Date”. Your list should look like in below screenshot.

Now go to Microsoft Power Automate | Home and select your “LAPS Workflow” flow.
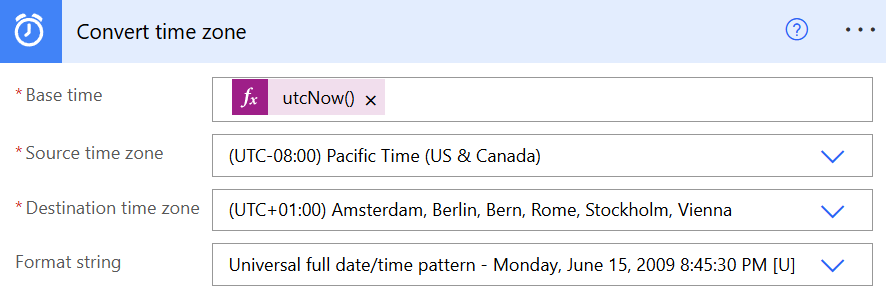
Add a new step “Convert time zone” and fill in the below details based on your region and time settings.
- Base time: Expression – utcNow()
- Source time zone: (UTC-08:00) Pacific Time (US & Canada)
- Destination time zone: (UTC+01:00) Amsterdam, Berlin, Bern, Rome, Stockholm, Vienna
- Format string: Universal full date/time pattern – Monday, June 15, 2009 8:45:30 PM [U]
Add a new step and look for “Create item” for SharePoint Online.
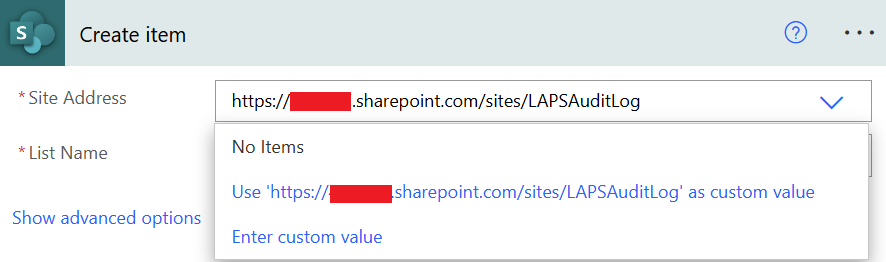
- Add the site address from the SharePoint Online site you have created earlier
- Select “Use (Site URL) as custom value”
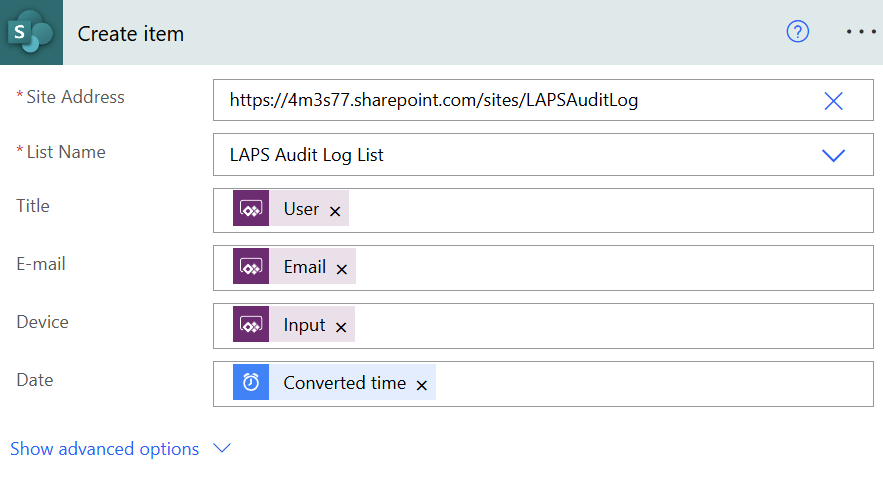
Select the list you have created earlier.

Your “Create item” step should look like in below screenshot.
- Title: User from Power Apps
- E-mail: E-mail from Power Apps
- Input: Input from Power Apps
- Date: Converted time
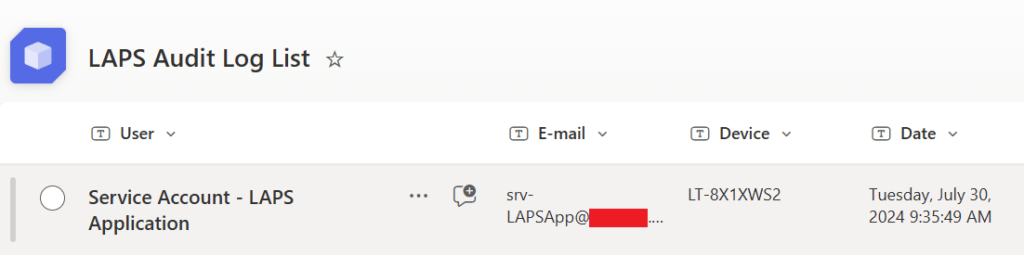
Run the Power App again and request a LAPS password for a device you like. The SharePoint Online list contains now an item with the information who requested, for which device and at what date.
You have successfully created an easy audit log for the LAPS Power App.
In part 4, I will show you how to create a conditional access policy for the Power App. You can require MFA whenever you start the Power App.
Stay tuned and cheers! 😀